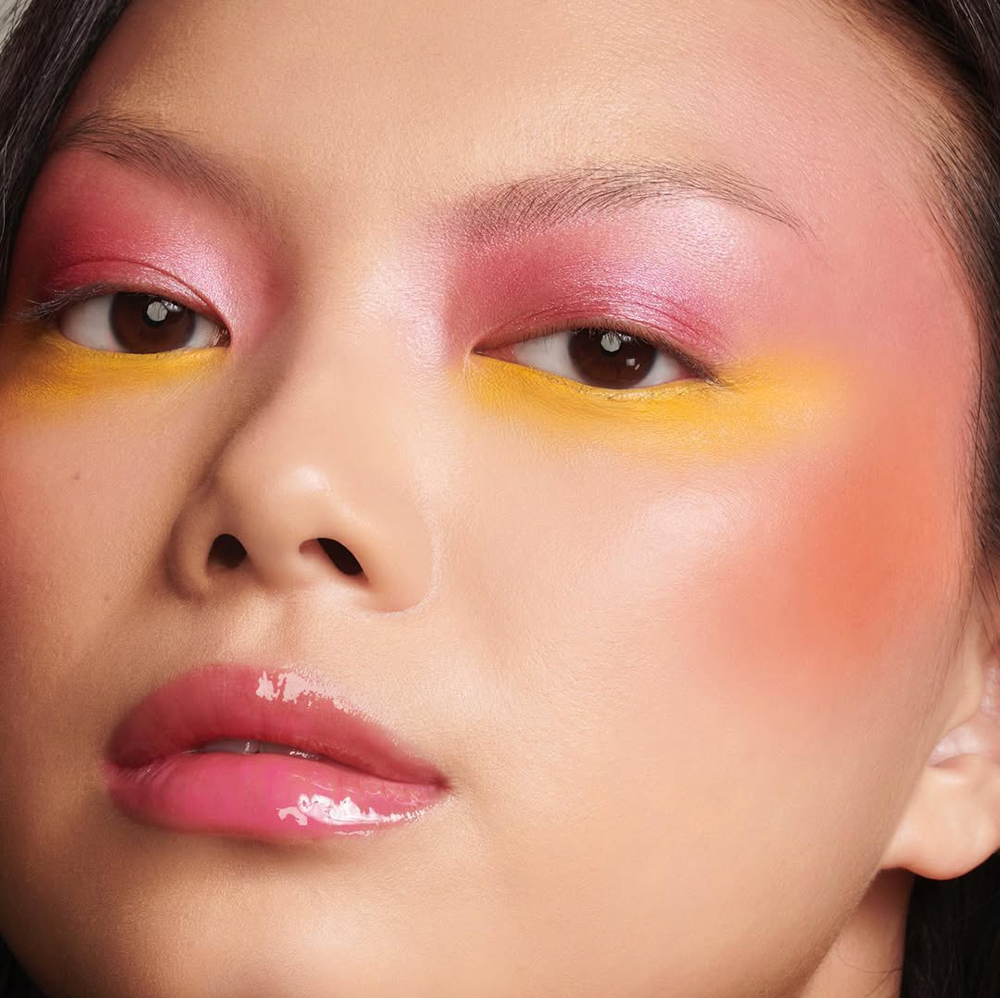
The watercolour blush trend is all about a sheer wash of colour that’s subtle, soft, and blended. It’s a natural blush look that flatters all complexions and gives the skin a natural glow.
Although achieving the watercolour blush trend can be deceptively tricky if you don’t follow the right steps. So I asked 3 beauty experts for their top tips on how to achieve the watercolour blush trend and how to make it work for different skin tones.

*This post contains some affiliate links. This means, at no extra cost to you, I earn some commission if you purchase a product through my link. All thoughts are my own, though, as always. If you want to find out more, visit my affiliate disclosure page*
What is the watercolour blush trend?
The watercolour blush trend is characterised by a hint of colour with a natural to dewy finish. The edges are feathered, and the placement is diffused rather than concentrated colour on your cheeks.
As Jackie Kim, Co-Founder of The Glow Beauty Shop, a Korean skincare e-commerce store, puts it: “If traditional blush is a bold brushstroke, watercolour blush is a wash- sheer, weightless colour that looks like it lives in your skin. It’s the kind of blush that makes people say, ‘Your skin looks great’, not ‘Nice blush’.”
It’s a barely-there pop of blush that’s wearable and versatile.
How does watercolour blush differ from traditional blush?
Jackie explains that watercolour blush differs from traditional blush as it’s more transparent. “Think tint or stain rather than full-coverage pigment.” The edges should be blended, with the colour fading softly into the surrounding skin with no hard lines.
Watercolour blush placement should be wider and higher. “A gentle sweep across the upper cheekbones (sometimes bridge of nose/temples) instead of a concentrated dot,” Jackie adds.
Importantly, watercolour blush should always prioritise a skin-first finish. Freckles, texture, and glow should still peek through.
How to do watercolour blush
There are several methods to achieve the trending watercolour blush.

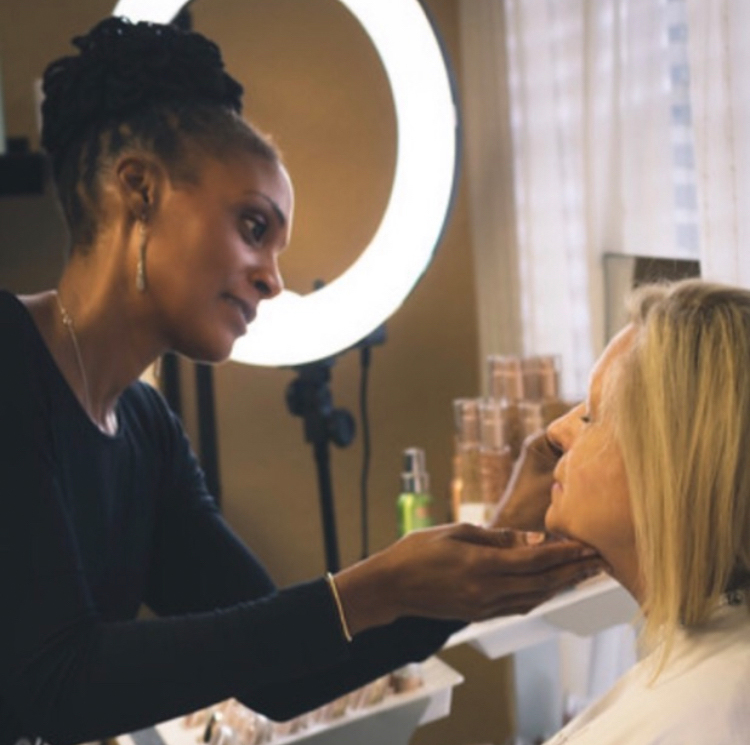
Shanna Bynes Bradford, a professional makeup artist and the CEO of Grow Out Oils Clinical Aromatherapy Company, suggests 2 different ways to achieve a soft blended look.
“The first way is using a foundation flat brush and lightly tapping application on the cheekbone and along the side orbital bone. This application will allow a natural look and help the blush absorb completely into the skin for a flawless glow.
“The second method can be done using a sponge applicator and adding a few drops of makeup primer or facial serum to smooth out the texture and colour. This application gives the skin a healthy, hydrated glow and is especially helpful for clients who need a boost of hydration to improve dullness or dry skin.”
Jackie recommends using a light moisturiser or hydrating primer as part of your skin prep before makeup application to give the blush something to glide over. Oily skin should tap translucent powder in shiny areas.
Another way to achieve the watercolour blush trend is by underpainting. “Underpaint, then veil,” Jackie suggests. “Dot blush on bare skin, blend to a haze, then add a sheer skin tint on top for that ‘from within’ look.”
Always work in sheer layers to achieve a watercolour blush. Use 2-3 tiny dots per cheek, blend, and then reassess. Build slowly. Jackie also recommends widening the area where you’re applying the blush for a natural look. “Start high on the cheekbone and diffuse toward the temple; a whisper over the nose ties it together.”
How to adapt the watercolour blush trend to different skin tones and undertones
This blush trend works for all skin tones, depths, and undertones. Although makeup has a theory, there are no barriers to being creative and experimenting with different colours. That being said, if you’re looking for a starting point, the guide below will help you choose a blush colour that will work for your complexion.
Here’s Jackie’s simple guide to selecting a blush shade that will flatter your skin tone.
- Fair, cool/neutral: petal pink, cool rose, soft mauve.
- Fair–light, warm: peach, apricot, soft coral.
- Medium, neutral/olive: warm rose, dusty peach, terracotta-peach.
- Tan–deep, warm: apricot, burnt coral, terracotta, brick.
- Deep–rich, cool/neutral: berry, plum, wine, deep rose (choose translucent formulas to stay vibrant).
Looking for a blush to flatter your undertone? Here’s Shanna’s advice:
- Warm undertones: peachy, yellow, and gold hues look great.
- Cool undertones: red, pink, and blue hues enhance cool-toned skin.
- Neutral undertones: can select a wide variety of hues.
“Go with a rose or berry wash for cool undertones, and use a sheer veil; include a sheered out apricot or peach for warm undertones,” Dr. Eleonora Fedonenko, Medical Director and Dermatologist at Your Laser Skin Care, suggests.
Product recommendations
You can use cream, liquid, and powder formulas to achieve the watercolour blush trend.
Cream blush
Cream blushes typically give a natural, skin-like finish. Although this formula can be used by all skin types, it’s particularly good for more mature, dry, or dull skin types.
Jackie’s picks:
- Fenty Cheeks Out Cream Blush (SARAHSSPH for 15% off) – translucent with a gentle sheen.
- Rose Inc Blush Divine – creamy but sets; great for normal-to-oily.
- MAC Glow Play – bouncy texture that naturally blurs edges.
Liquid blush
Liquid blushes and serum tints provide the easiest watercolour finish, according to Jackie. Again, this formula can be used by all skin types but is particularly good for normal or combination skin. They provide skin with a healthy glow of hydration, Shanna says.
Jackie’s picks:
- Glossier Cloud Paint (SARAHSSPH for 15% off) – gel-cream that thins evenly, resists patchiness.
- Saie Dew Blush – sheer, dewy, forgiving; beginner-friendly.
- NARS Liquid Blush (SARAHSSPH for 15% off) – more pigment; one drop mixed with moisturiser = instant veil.
- Rare Beauty Soft Pinch Liquid Blush – ultra-concentrated; sheer out with a damp sponge.
Powder blush
Powder blushes are excellent for combination to oily skin, as they easily absorb excess oil on the cheek while giving the skin “a kiss of sunshine”, Shanna explains. This formula is also great for topping up blush throughout the day without it looking greasy or cakey.
Jackie’s picks:
- Laura Mercier Blush Colour Infusion (SARAHSSPH for 15% off) – buildable, fine-milled.
- Dior Backstage Rosy Glow – fresh lift; go light with a fluffy brush.
- ColourPop Super Shock Cheek – cushiony hybrid, budget-friendly.
Common mistakes to avoid, and how to fix them
When trying any new makeup look, there’s always a chance it’ll go wrong. Even the best makeup artists make mistakes every now and again. But don’t worry! It’s easy to clean up any mistakes.
One of the most common mistakes when doing the watercolour blush trend is concentrating the blush in one fixed point on the cheeks, which makes the blush look blotchy and unnatural, according to Dr. Fedonenko.
“The fixes include using ultra-thin washes of layering pigment with a damp sponge, moving away from the face and using strokes that follow the soft roundness of the cheekbone, not using pressure at one defined point on the cheek, and using less product.”
Shanna agrees that one of the most common mistakes she sees as an experienced MUA is when the blush application is too heavy and looks like a bruise. This happens when too much product has been applied with not enough blending to soften the look.
The fix? “Add a few drops of serum or primer onto your brush or sponge applicator and gently dab until you see the colour lighten up. Then apply a light translucent powder to set the blush in place.”
Shanna adds that another common mistake is applying blush on top of makeup or on top of dry or dull skin. “The best canvas for makeup or applying blush is a clean face that has been cleansed, moisturised, primed, and ready to go.” This ensures that makeup lasts longer and wears better throughout the day.
If the edges of your blush look too harsh, one quick way to fix this is to buff the edges with your foundation brush (do not add extra product), Jackie recommends. She also says that if your blush looks too dull and not glowy, this is due to too much powder. “Set only where you crease; finish with a hydrating mist”.


This so comprehensive as a guide, thank you! Thanks for recommending products and shades and compiling all the advice to master this. It looks so editorial when it’s done with bright and bold colours. I love it.